05-17 06:36
Notice
Recent Posts
Recent Comments
관리 메뉴

Scientific Computing & Data Science

[Apache] Installing Apache Server on Mac 본문

Programming/Web App

[Apache] Installing Apache Server on Mac

cinema4dr12 2013. 12. 15. 19:40
Apache web server running in Mac OS X Mountain Lion

The Sharing preference panel options were changed a bit in OS X Mountain Lion and again in Mavericks, and while things like Internet Sharing remain, the Web Sharing preference panel was removed. The Apache web server remains bundled with Mac OS X though, but you’ll need to turn to the command line to enable the web server. Additionally, you’ll want edit a user configuration file for each user account on the Mac to have the personal web sharing feature active. If any of this sounds intimidating or complex, it’s really not, just follow along and you’ll have a simple web server running on your Mac in no time.

Setting Up and Starting the Apache Web Server in OS X

Versions of OS X prior to Mountain Lion and Mavericks can simply turn on “Web Sharing”, but from 10.8 and 10.9 onward you’ll need to do the following to use a local web server:

  • Launch Terminal, located in /Applications/Utilities/
  • Type the following command, replacing USERNAME with the user account short name:
  • nano /etc/apache2/users/USERNAME.conf

  • Enter the admin password when requested, then paste the following into the nano text editor:
  • <Directory "/Users/USERNAME/Sites/">
    Options Indexes Multiviews
    AllowOverride AuthConfig Limit
    Order allow,deny
    Allow from all
    </Directory>

    In the .conf file it will look like this:
    Apache web server in Mac OS X user configuration file

  • Edit the Directory path USERNAME to the appropriate username
  • Now hit Control+O to save the changes to USERNAME.conf, then hit Control+X to quit out of nano
  • Next, you will start the web server with the following command:
  • sudo apachectl start

  • Launch Safari, Chrome, or Firefox and navigate to “http://127.0.0.1″ to verify the server is running, you will see an “It Works!” message

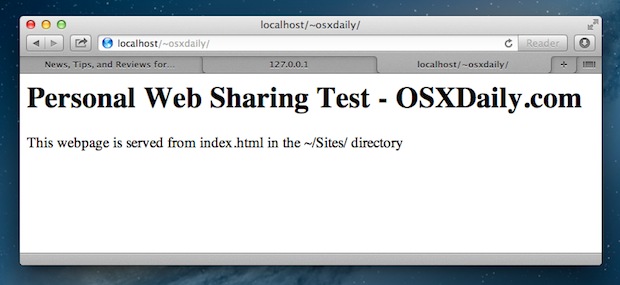
You can now also visit http://127.0.0.1/~USERNAME/ to see the contents of whatever is stored in the user ~/Sites/ directory, and you can add an index.html file or whatever else you’d like to the directory to serve it to the outside world or even just your LAN.

Using http://localhost/ is also fine, and by editing the hosts file you can set a local domain to whatever you want to create a local test environment with an otherwise live domain.

This whole process is quite fast, and can be completed in under a minute as demonstrated in the video walkthrough below:

Shutting Down Apache

To shut down the web server, go back to the command line and type the following:

sudo apachectl stop

If you make changes to the server and just want to restart it, that can be accomplished with the following command instead:

sudo apachectl restart

The default Apache server is barebones and does not have PHP, MySQL, or anything particularly fancy enabled. You can either install and configure those manually, or you can go the pre-configured route through an all-in-one server app like MAMP, which includes Apache, MySQL, and PHP in a simple to control app-based web server package. You can get MAMP free from here.


Comments